6 steps for perfectly pre-cleaning the car
Pre-cleaning is maybe one of the most essential steps in the detailing process. Good pre-cleaning has a positive effect on all the next steps you will make. Bad pre-cleaning has the opposite effect. In just six steps, you can perfectly pre-clean the car.
1. Use an alkaline cleaner for heavy pollution
To wash the car without scratches first pollution like traffic film, sand and dirt needs to be removed. This can be done with use of the right pre-cleaner. Spray the product on the car from bottom to top. You do this so the product won’t ‘run’. You want the cleaner to have a long contact time on the paint.
Don’t forget that the product works best when the car is dry. The advice therefore is to not first rinse the car with water. Spray the product on and let it dwell for about one minute. Then rinse the car with water, again from bottom to top. The advantage is that you can see precisely where you’ve been so you hit every spot.
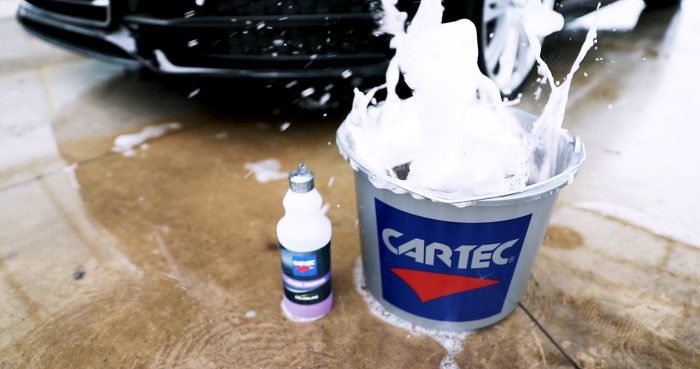
2. Use a shampoo to wash the car
After pre-cleaning, the car can be washed with a microfibre mitt or sponge and the two bucket method. One bucket for the shampoo and one bucket for cleaning the wash mitt or sponge. In this way you protect the car from potential scratches. You can also use a foam lance. Here the car gets sprayed on with a shampoo which gives the famous snowfoam effect. After washing rinse the car off with water.
3. Clean the wheels
For the wheels you can use a special cleaner (for example Wheel Cleaner or Iron Wash for delicate rims). Spray the product on the wheels, leave it for a maximum of two minutes and spray off with a high pressure pump. For heavy pollution you can use a wheel brush.
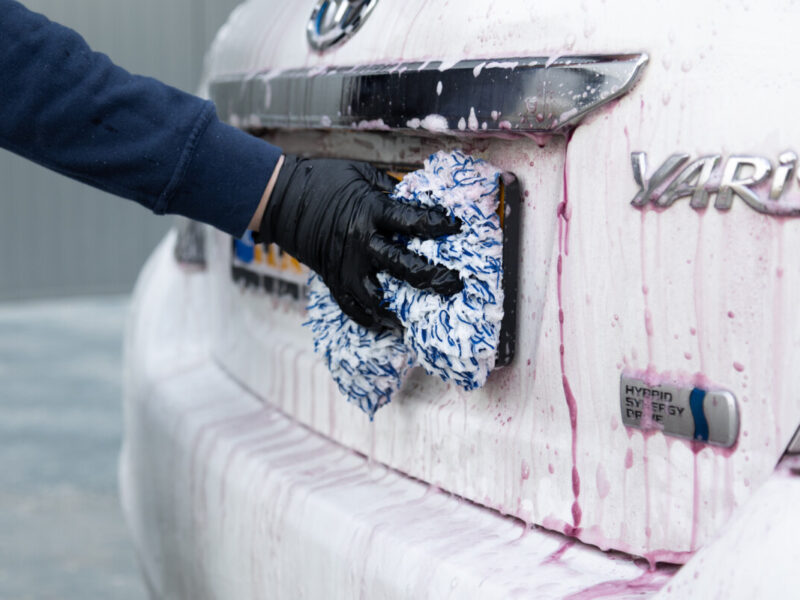
4. Remove small metal particles and fly rust
It’s highly recommended to remove small metal particles and fly rust. This can easily be done with a decontamination spray which removes fly rust and iron.
Make sure that the car is dry before spraying on the product. The car doesn’t have to be completely dry, but the cleaner will have less effect in combination with water. After spraying on the product you will notice that the chemicals react with the iron by seeing a purple ‘bleeding effect’. You can also use the decontamination spray in combination with a clay pad, clay bar or clay cloth. This will give you more cleaning power.
5. Remove tar and glue residues
With the previous steps most of the contamination is cleaned and you can almost start with the next steps of detailing. However, sometimes you will notice some tar spots or glue residues on the paint. This is a kind of contamination which can’t be done with the previous cleaning products and therefore need a special tar and glue remover. Spray the product generously on and wait a few minutes for it to work. The product will react and now you can remove the tar spots with an old cloth. Always rinse the car afterwards or wipe it dry.
6. Dry the car
Well this step speaks for itself, but it’s very essential that this is done the right. The biggest difference is if the car is washed with osmosis water or with normal tap water. Because osmosis water is clean, the car will dry streak free in open air. When using normal water it’s best to use a chamois to prevent the car from chalk and mineral stains.
On to the next steps…
Follow the steps above and you will see that the polishing, waxing and coating will go a lot easier and will give better end results.
Want to know more on how to best polish the car? Read this blog post.