Removing scratches in 6 steps… here’s how to do it!
There is nothing more annoying to a professional than a scratch or holograms in the paintwork. This can usually be remedied by polishing the paintwork. In this Insight, we explain how to do this!
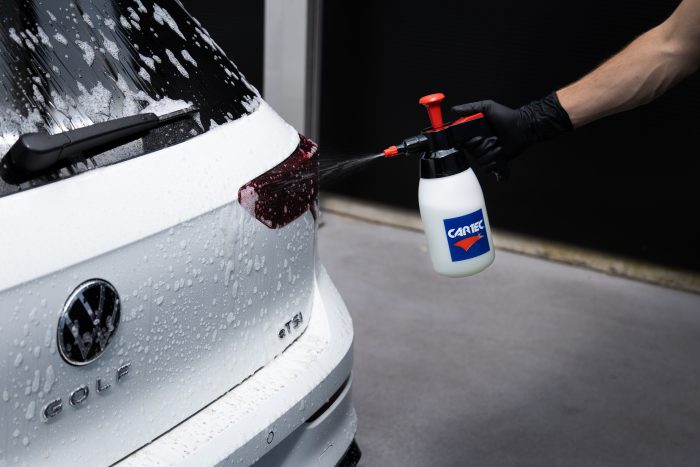
Step 1 – Preparing the paintwork
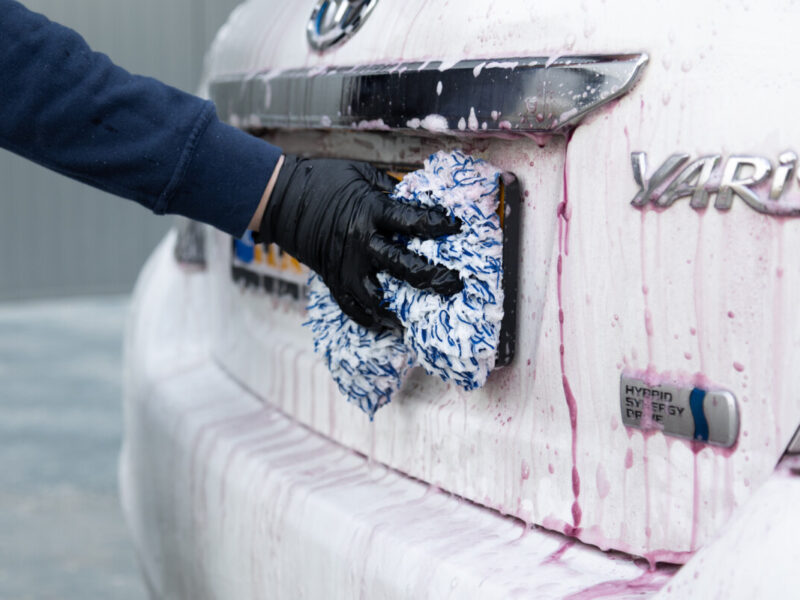
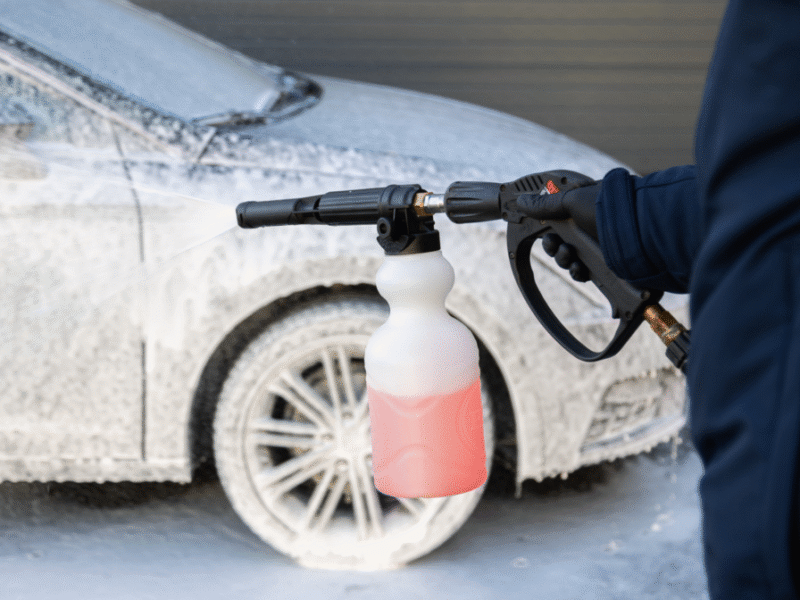
First of all, it is important to prepare the car properly for polishing. You do this by first cleaning the car completely. You can read how to clean the paint thoroughly in the Refinish Process Manual.

Step 2 – Masking of plastic & rubber parts
To protect the plastic and rubber parts, it is best to mask them. By using masking tape on vulnerable parts such as window rubbers, you prevent damage. Make sure to use the right quality masking tape. Choose a type of tape that does not leave any glue residue.
Want to learn more about the Refinish Process? Check out the Refinish page including Refinish Process Manual, Polishing Path Map & Process Map.
Step 3 – Define workspace
A useful trick to determine working space is to work within shoulder width. You increase this plane between the shoulders by 6 times a polishing pad height. With this trick, you can always easily see where you need to pass the same paint area several times with the machine.
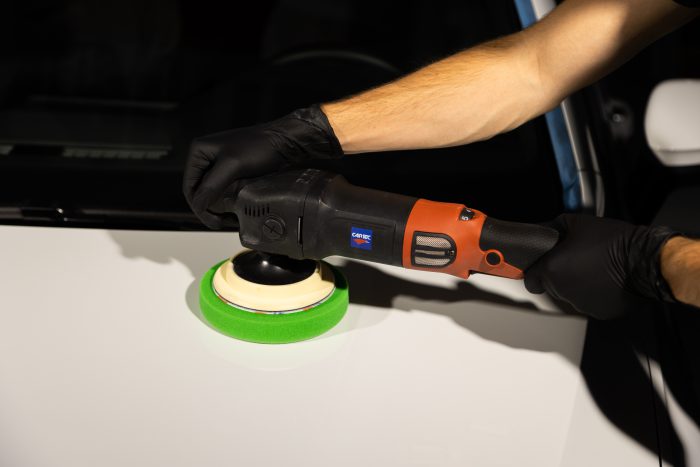
Step 4 – Refinish Diamond Cut 3000
Always start with the polishing paste with the coarsest polishing grain. From the Cartec range, this is the Refinish Diamond Cut 3000, combined with a rotary polisher and a compounding pad coarse green. By starting with a low speed, you can easily spread the product. Once the product is spread then you can up the revs. Go over the same part of the paint with the polisher several times. After polishing, wipe the panel clean with a Microfibre cloth.
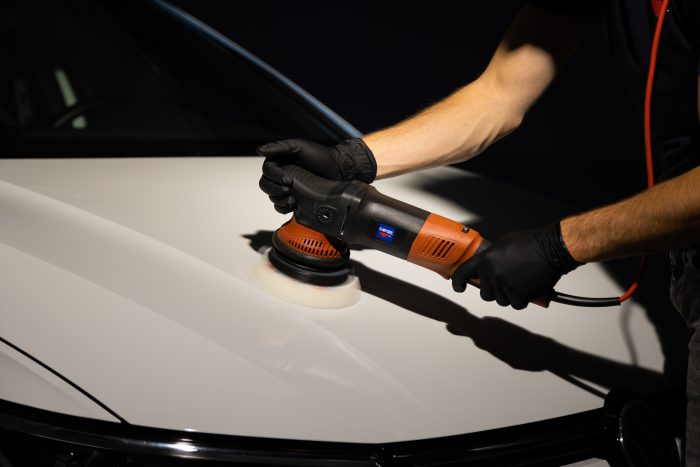
(In case of dual action polishing) Step 5 – Refinish Final Cut 9000
Als je polijst met een excentrische polijstmachine, ga dan verder met de Final Cut 9000. Deze polijstpasta is wat fijner een verwijderd hologrammen. In combinatie met de Finishing Pad White behaald de 9000 de beste resultaten. Zorg dat de polijstpad meerdere keren hetzelfde oppervlak passeert. Neem na het polijsten het behandelde oppervlak af met een microvezeldoek. Na deze stap kan je de lak nog behandelen met de Ultra Finish 12000, zie stap 5 voor roterend polijsten.
(For rotary polishing) Step 5 – Refinish Ultra Finish 12000
Optional add-on step for dual action polishing
If you are polishing with a rotary machine, complete the polishing treatment with the Refinish Ultra Finish 12000. And then wipe off with a microfibre cloth. This polishing paste will bring the paintwork to the ultimate high gloss.
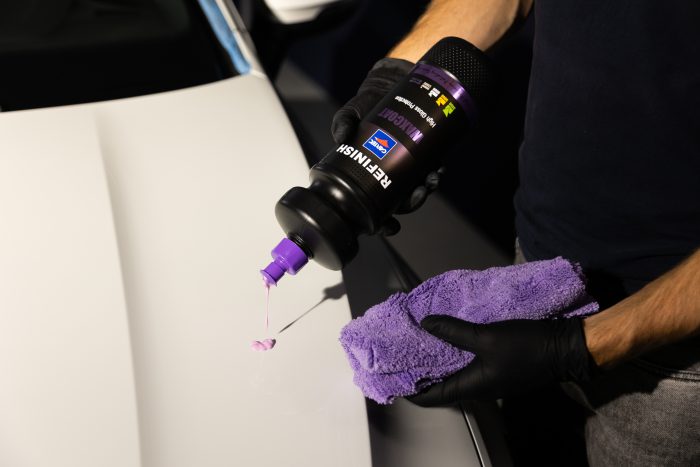
Step 6 – Protecting the polished paintwork
After removing scratches by polishing, the next step is to protect the paintwork. From the Refinish line, the WaxCoat was developed for this purpose. You apply it by spreading a few drops on the paintwork and rubbing it out with a microfibre cloth. Afterwards, the paintwork is provided with a shiny, long-lasting protective layer.
Rather have long term paint protection?
After polishing, you also have the option of protecting the paintwork with a coating. You can read about the difference between a coating and a wax in “Car wax or coating? Paint protection for the car“.